Set up a sending domain
Register a subdomain per email category, publish its DNS records, verify it, choose who handles unsubscribe, and watch its reputation.
A sending domain is the address your email is sent from, such as promo.acme.example. Mailbox providers like Gmail, Yahoo and Outlook build reputation per domain. TrueEngage gives each kind of email its own subdomain, so a spike in spam complaints on a sale campaign never delays a password reset.
Before you start
- You need permission to manage channels. If Add domain is missing, ask an Owner or Admin.
- Own a domain and be able to add DNS records to it.
- Add and verify an email provider first. The provider issues the DKIM records. The page suggests Amazon SES or SendGrid. Without a provider, only the ownership record, SPF and DMARC can be checked. Amazon SES needs API credentials (IAM access keys); SMTP credentials cannot create domain identities.
- In Live, mail from an unverified domain is held until the domain verifies. Test is not blocked.
The four categories
Each tab on the Sending domains page is a category. Use one subdomain per category.
| Category | Suggested subdomain | Use it for |
|---|---|---|
| Transactional | txn.yourbrand.com |
OTPs, receipts and password resets. Nothing promotional goes out from it, and no unsubscribe link is added. |
| Promotional | promo.yourbrand.com |
Campaigns and offers. Gmail and Yahoo require one-click unsubscribe here. |
| Research | research.yourbrand.com |
Surveys and feedback requests, kept apart so a poorly received survey never touches promotional reputation. |
| Compliance | compliance.yourbrand.com |
Regulatory notices, policy changes and statements. These must reach everyone, so they must never share a domain with marketing. |
Add a domain
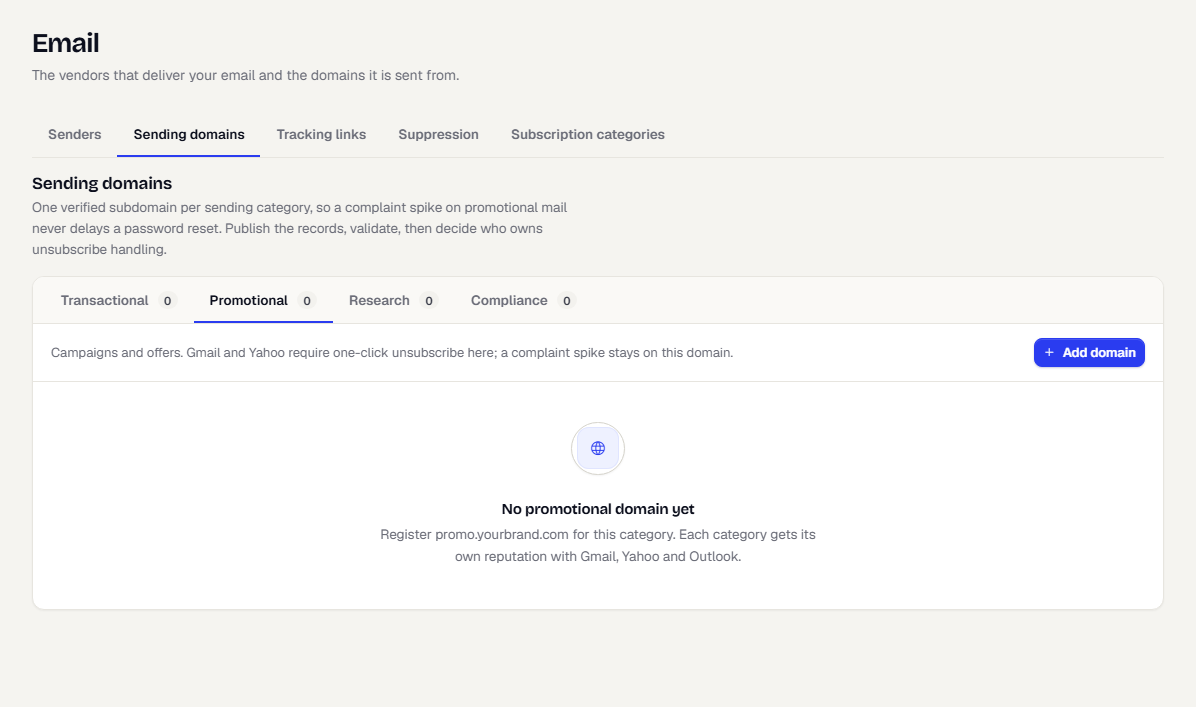
- In the sidebar, open Channels, then Email, and select the Sending domains tab.
- Open the tab for the category, such as Promotional.
- Select Add domain.
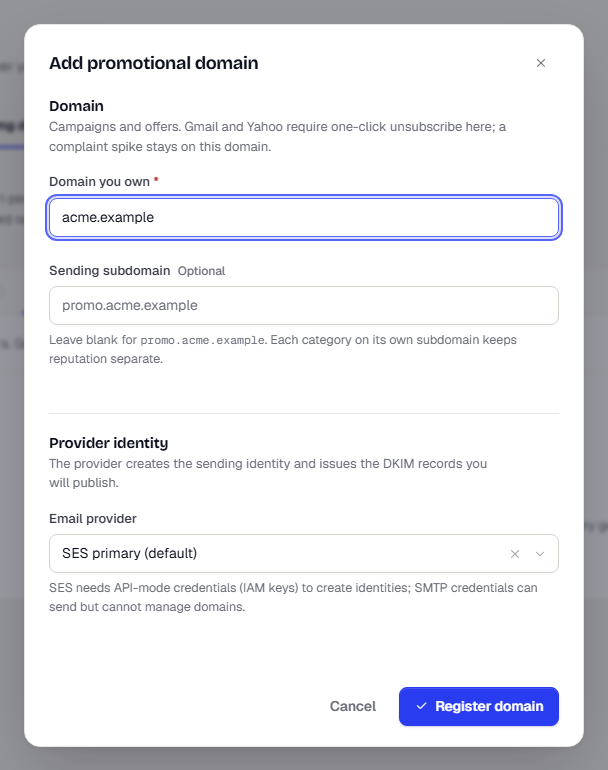
- Under Domain you own, enter your root domain, for example
acme.example. - Under Sending subdomain, leave it blank to use the suggested prefix, or enter your own.
- Under Email provider, pick the provider that will send for this domain. Leave it empty to prove ownership with a TXT record only.
- Select Register domain.
Publish the DNS records
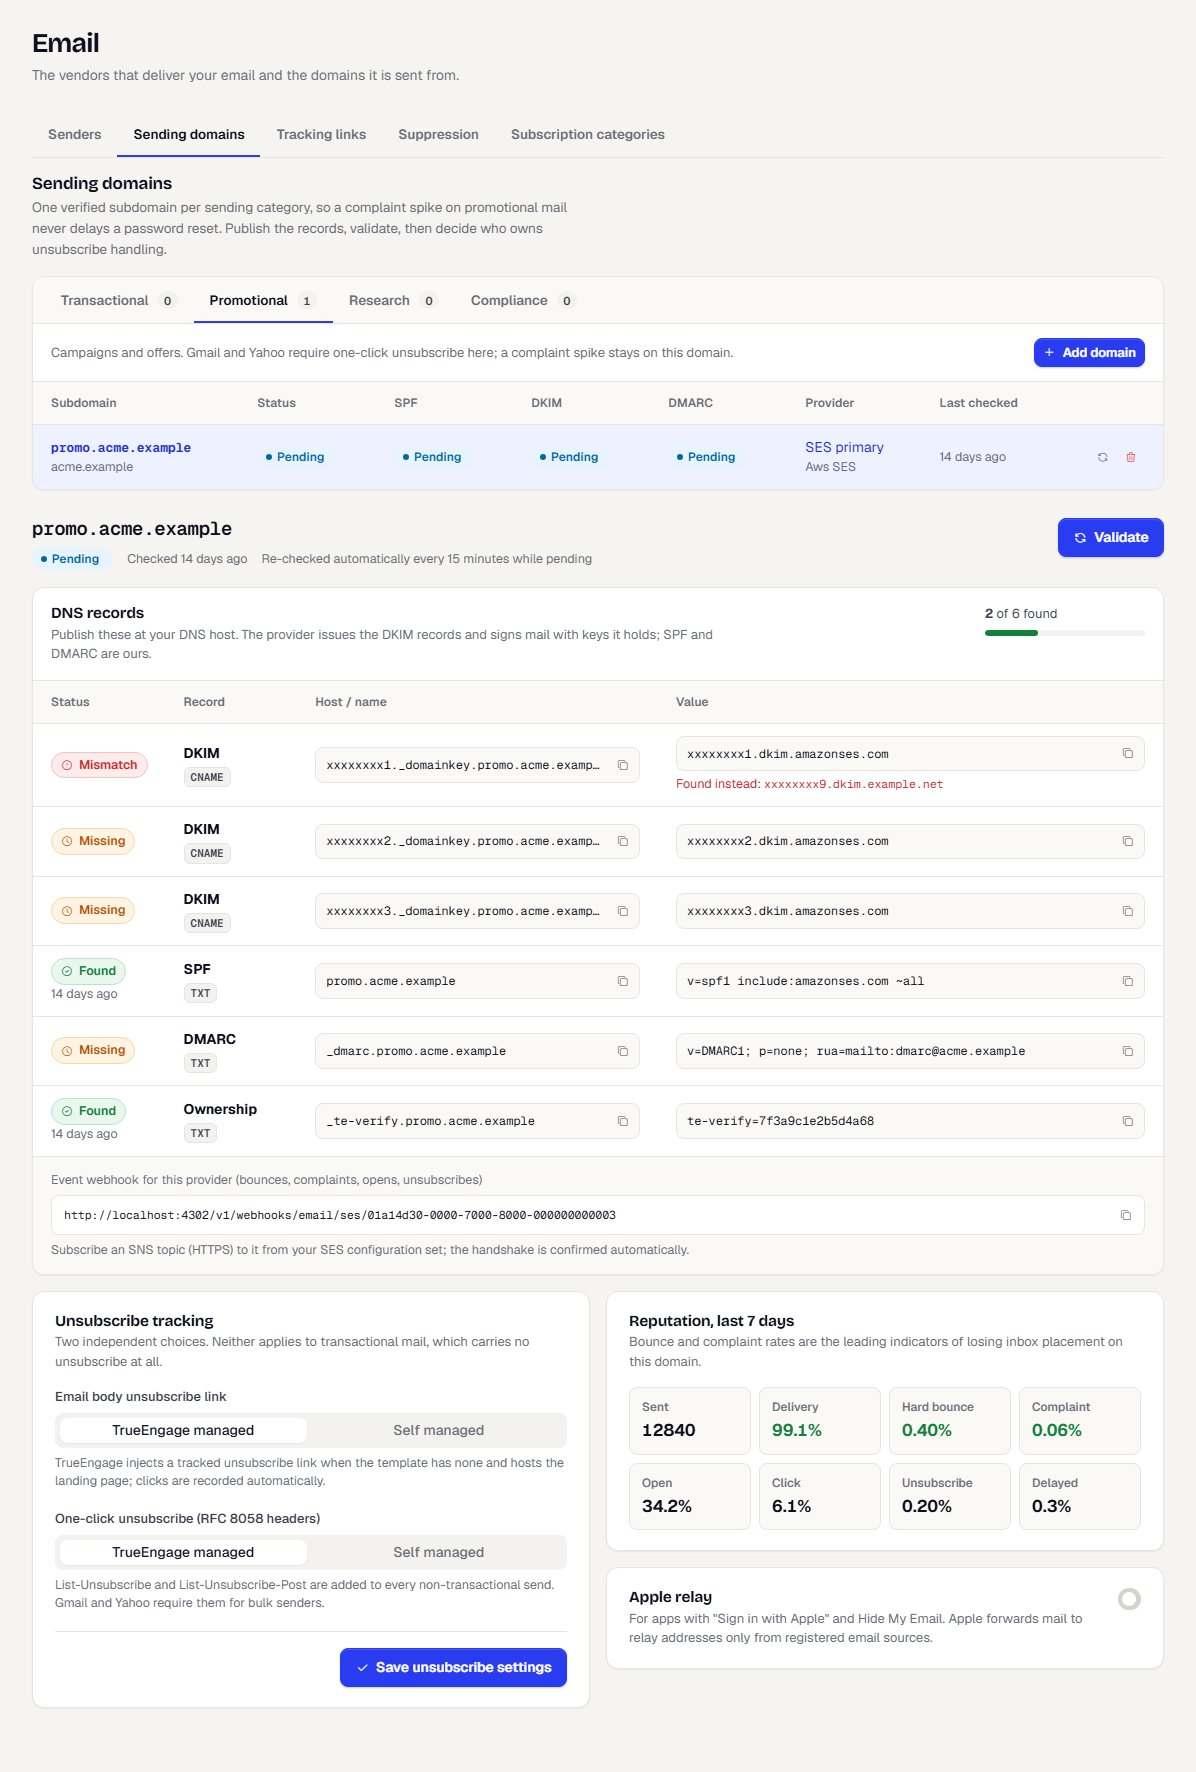
After you register a domain, select its row. The DNS records table lists everything to publish at your DNS host.
| Record | What it does |
|---|---|
| Ownership (TXT) | Proves you control the domain. |
| SPF (TXT) | Lists the servers allowed to send for the domain. |
| DKIM (CNAME) | Lets the provider sign your mail. The provider issues these and holds the keys. |
| DMARC (TXT) | Tells receivers how to treat mail that fails SPF or DKIM. |
- For each row, copy the Host / name and Value with the copy buttons and create the record at your DNS host.
- Some DNS hosts append your domain automatically. If the host shows twice, remove the domain part from the name you paste.
- Wait for DNS to propagate. This can take from a few minutes to a few hours.
Verify the domain
- Select Validate to check the records now. TrueEngage also re-checks every 15 minutes while the domain is pending.
- Read the Status of each record:
- Found: the record is published and matches.
- Missing: it is not published yet, or DNS has not propagated.
- Mismatch: a different value was found. The table shows Found instead with that value. Correct the record at your DNS host.
- The domain row shows SPF, DKIM and DMARC statuses and a Last checked time. When every record is found, the status becomes Verified.
Below the records, an event webhook URL is shown for your provider. Copy it into your provider so bounces, complaints, opens and unsubscribes flow back. For Amazon SES, subscribe an SNS topic (HTTPS) to it from your SES configuration set. The handshake is confirmed automatically.
Choose who handles unsubscribe
The Unsubscribe tracking card has two independent choices. Neither applies to transactional mail, which carries no unsubscribe at all.
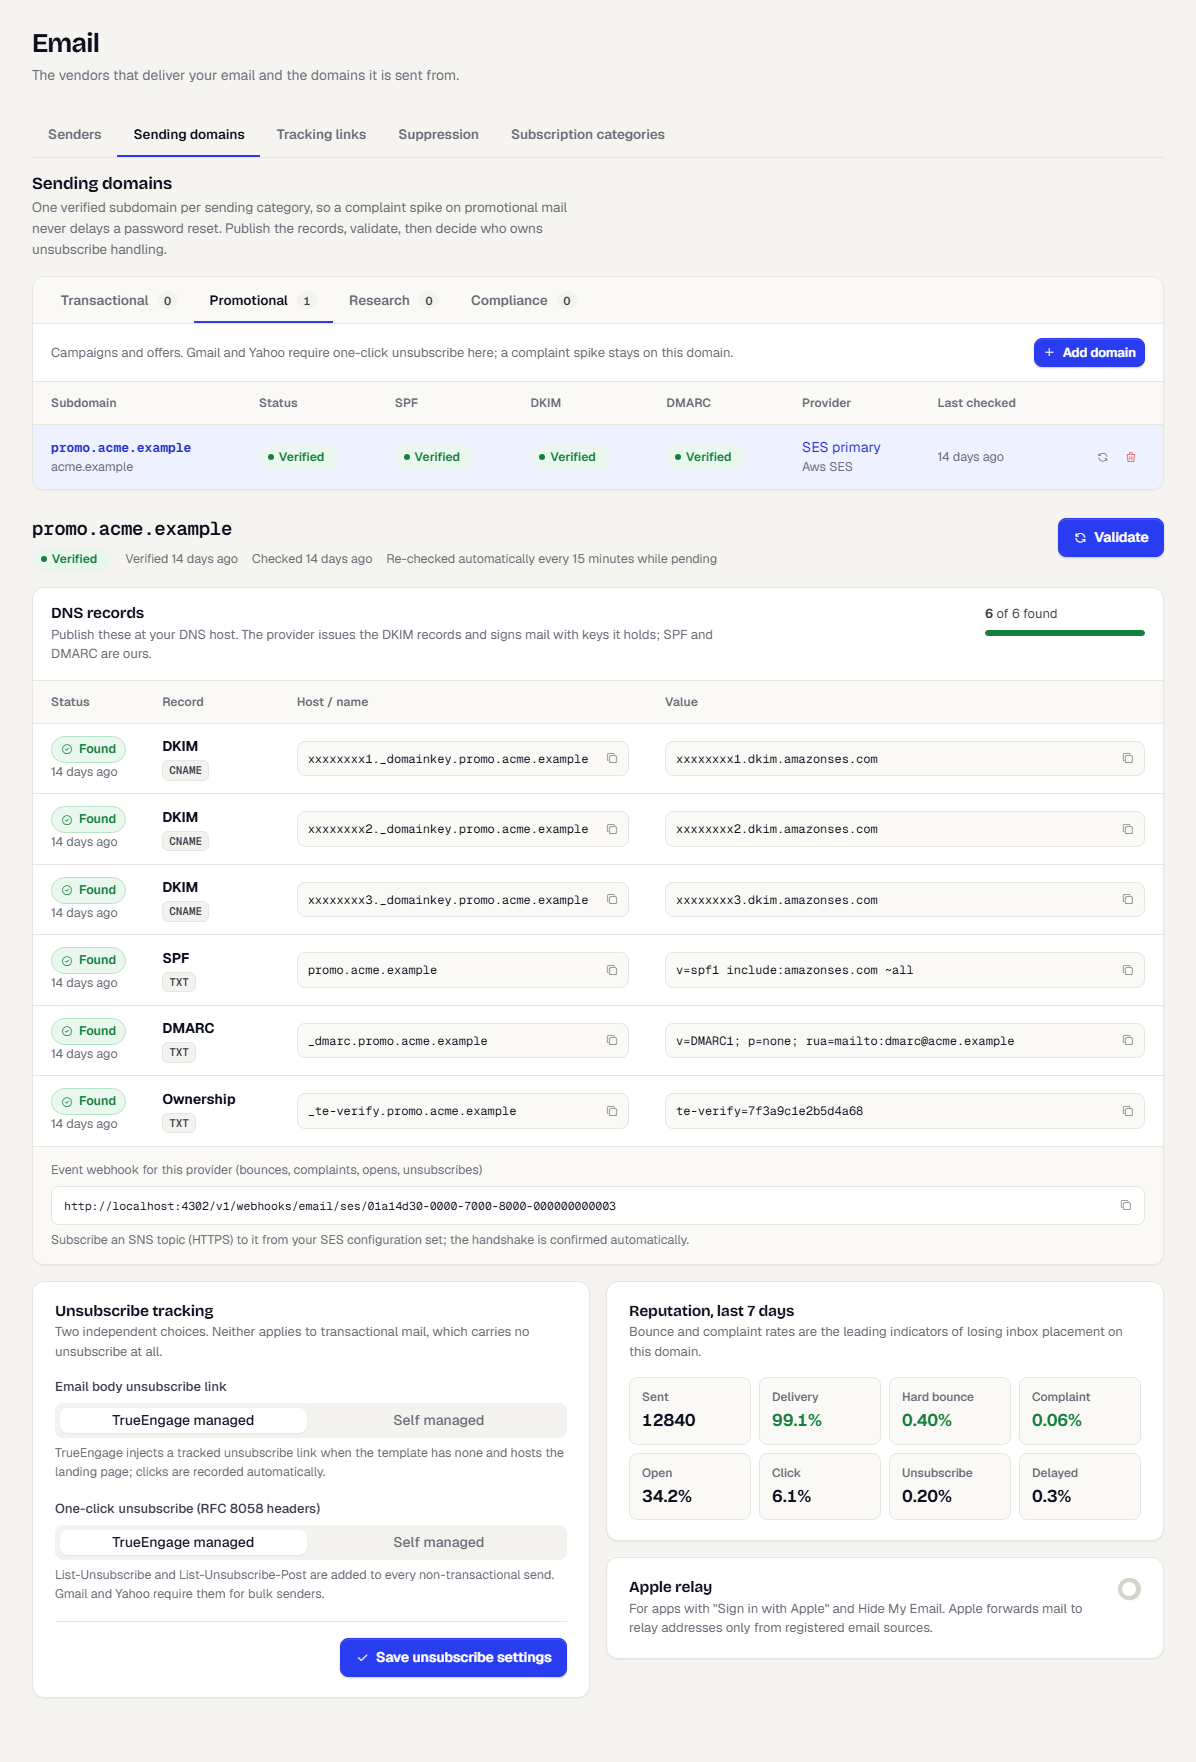
- Email body unsubscribe link
- TrueEngage managed: TrueEngage adds a tracked unsubscribe link when the template has none, hosts the landing page and records each click.
- Self managed: your template links to your own page. Enter Your unsubscribe page URL. You must tell TrueEngage about each opt-out, or other categories keep sending to that person.
- One-click unsubscribe (RFC 8058 headers)
- TrueEngage managed: TrueEngage adds the
List-Unsubscribeheaders to every non-transactional email. Gmail and Yahoo require them for bulk senders. - Self managed: no headers are added. Your template must include them, or Gmail and Yahoo throttle or reject bulk mail. TrueEngage cannot check this for you.
- TrueEngage managed: TrueEngage adds the
- Select Save unsubscribe settings.
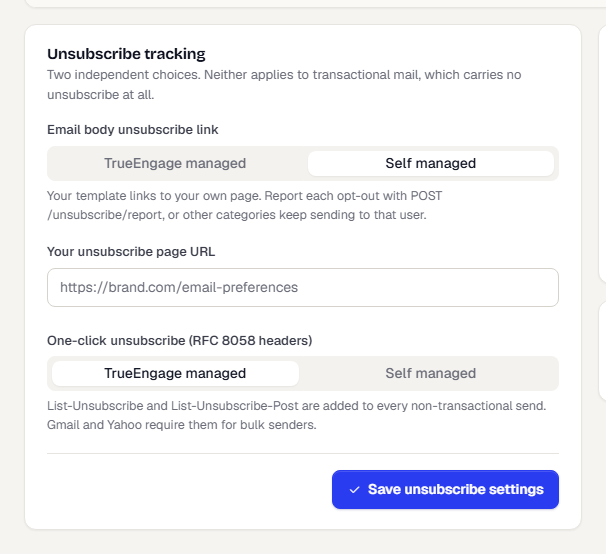
The two choices are independent. You can keep the visible link in your own page and still let TrueEngage handle the one-click header.
What recipients see
With TrueEngage managed, the unsubscribe link opens a hosted page that confirms the opt-out and offers Undo. A preferences link opens a hosted preference centre where the person turns channels and categories on or off. The links are signed and tied to that person and category, not to a raw email address.
An unsubscribe applies to that category's mail only. A hard bounce or a spam complaint suppresses the address across all categories, and a resubscribe does not reverse that.
Read the reputation panel
Reputation, last 7 days shows rates for this domain: Sent, Delivery, Hard bounce, Complaint, Open, Click, Unsubscribe and Delayed. Bounce and complaint rates turn warning colours as they rise. They are the first sign of losing inbox placement.
If the panel shows dropped messages, the provider's own suppression list blocked addresses that TrueEngage still considers sendable. Reconcile them with your provider.
Apple relay
Turn on Apple relay if your app uses Sign in with Apple and Hide My Email. Apple forwards mail to relay addresses only from registered email sources. After you switch it on, copy the bounce address and register it in your Apple Developer account under Sign in with Apple for Email Communication > Email Sources. Skip this if you do not use Sign in with Apple.
Remove or recheck a domain
On the row, select the refresh icon (Validate now) to recheck, or the trash icon (Remove domain) and confirm Remove.
What happens next
- Pick a From address on this domain in your email provider's Senders. See Add and verify a provider.
- Messages that fall under your send controls are still limited by frequency caps and quiet hours.
Was this page helpful?